 Save
Save There's something about the smell of butternut squash roasting in the oven that instantly makes a kitchen feel like home. One October afternoon, I was chopping away at a massive squash when my neighbor stopped by and just stood in the doorway, eyes closed, breathing in deeply—she didn't even say hello at first. That's when I knew this soup had to become a regular thing. The transformation from raw chunks to silky, golden comfort in a bowl felt like kitchen magic, and I've been making it ever since.
I made this soup for my sister when she was going through a rough patch, and she ate three bowls without saying much, then just hugged me afterward. Food doesn't always need words—sometimes it just needs to be warm and honest. Now whenever she's struggling, she texts me asking if I'll make my "healing soup," which is what she calls it, and honestly, that nickname gets me every time.
Ingredients
- 1 large butternut squash (about 2 lbs), peeled, seeded, and cubed: This is the star, and roasting it brings out natural sweetness that makes the whole soup deeper and richer than you'd expect.
- 1 medium yellow onion, chopped: Yellow onions have more natural sugar than white ones, which means better caramelization in the oven and a sweeter base flavor.
- 2 garlic cloves, peeled: Roasting mellows the garlic completely, so it adds warmth without any sharp bite.
- 1 medium carrot, peeled and chopped: This adds subtle sweetness and body to the soup, making every spoonful feel more substantial.
- 4 cups vegetable broth: Use good quality broth if you can—it becomes the backbone of the whole dish, so it matters more than you'd think.
- 2 tbsp olive oil: Essential for roasting; it helps everything caramelize and develop those deep, toasted flavors.
- 1 tsp salt: Taste as you go, because the broth might be salty already, and you don't want to oversalt.
- 1/2 tsp black pepper: Freshly cracked makes a real difference here.
- 1/2 tsp ground nutmeg: This is the secret ingredient that makes people pause and ask what that flavor is—it brings autumn into every spoonful.
- 1/4 tsp cayenne pepper (optional): Just a whisper of heat that wakes up your palate without overwhelming anything.
- 1/4 cup heavy cream or coconut cream (optional): I often skip this since the roasted squash is already creamy, but when I do add it, I use coconut cream so it stays vegan-friendly.
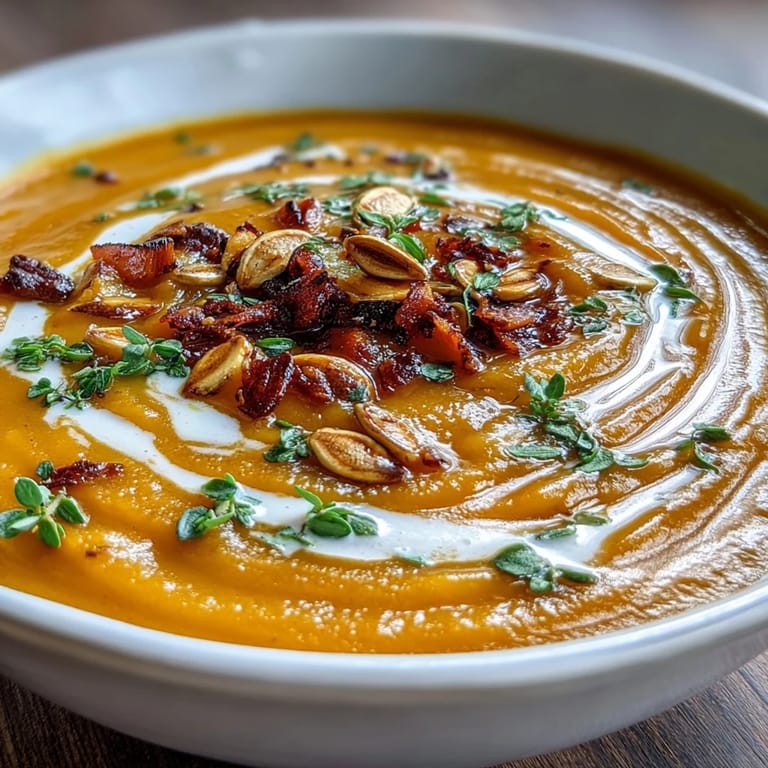
- Toasted pumpkin seeds and fresh thyme for garnish: These aren't just pretty—the seeds add texture and a nutty richness that changes the eating experience.
Tired of Takeout? 🥡
Get 10 meals you can make faster than delivery arrives. Seriously.
One email. No spam. Unsubscribe anytime.
Instructions
- Get your oven ready and prep your vegetables:
- Preheat to 400°F while you cube the squash, chop the onion and carrot, and peel your garlic cloves. Having everything ready means you can move quickly once you get to the pan.
- Toss everything with oil and get it roasting:
- Spread the squash, onion, garlic, and carrot on a baking sheet, drizzle generously with olive oil, and toss so every piece gets coated. This is where the magic starts—the oil helps everything caramelize and turn golden.
- Roast until the squash is completely tender:
- Roast for 30 to 35 minutes, stirring halfway through so nothing sticks or burns. You'll know it's ready when the squash pieces are soft enough to break with a fork and the edges are slightly browned.
- Move everything to the pot and add the broth:
- Transfer your roasted vegetables into a large pot, pour in the vegetable broth, and add salt, black pepper, nutmeg, and cayenne if you're using it. The warm broth will help release all those caramelized flavors stuck to the pan, so don't skip that.
- Simmer gently to let flavors meld:
- Bring the pot to a gentle simmer over medium heat and let it bubble quietly for about 10 minutes. This short cooking time lets all the seasonings find their way into the squash.
- Blend until it's completely smooth and silky:
- Using an immersion blender, blend everything until there's not a single lump left—the texture should be velvety. If you're using a regular blender, work in batches and be careful with the heat.
- Taste and adjust, then add cream if you'd like:
- Give it a taste and adjust the salt, pepper, and nutmeg if it needs it. Stir in cream now if you want extra richness, but honestly, the soup is already luxurious from the roasting.
- Serve with all the good toppings:
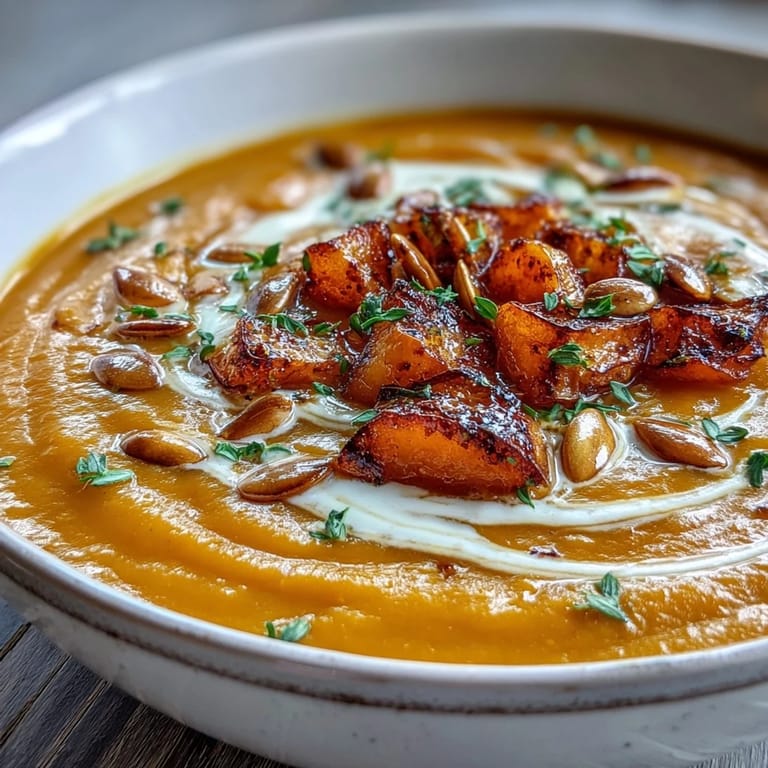
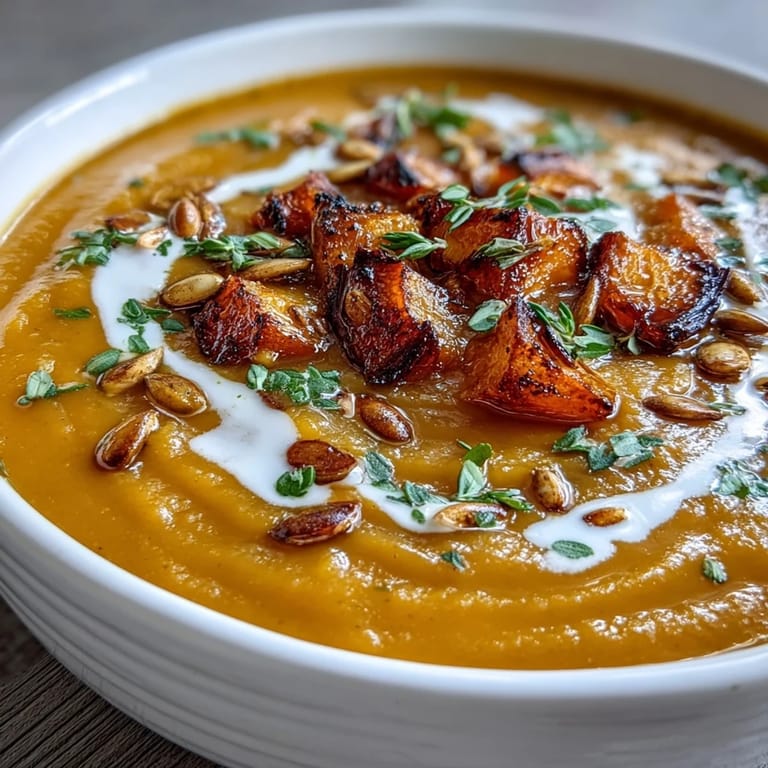
- Pour into bowls and scatter toasted pumpkin seeds and fresh thyme on top—these garnishes aren't optional if you want the full experience.
 Save
Save The first time someone told me this soup reminded them of being a kid, I realized I'd accidentally created a taste memory for someone. That's the kind of cooking moment that sticks with you—when food becomes less about the recipe and more about the feeling it gives people.
Why Roasting Changes Everything
Roasting the squash instead of boiling it is the difference between a flat, watery soup and something that tastes like autumn in a bowl. When the squash hits the hot oven, the sugars caramelize, the flavors concentrate, and you get this deep, almost nutty sweetness that you can't replicate any other way. I learned this the hard way after boiling squash my first few attempts, wondering why it never tasted as good as it looked.
The Cream Question
Here's a secret I discovered by accident: the soup is already creamy without any dairy or cream added. The roasted squash blends into something so silky that adding cream feels unnecessary most of the time. I started omitting it entirely and found that the soup actually tastes more like squash this way, cleaner and brighter somehow. Save the cream for the nights when you want extra indulgence, not every batch.
Making It Your Own
Once you've made this soup a few times, you'll start seeing ways to play with it. I've added a diced apple to the roasting pan for subtle sweetness, a splash of balsamic vinegar for depth, and even a pinch of smoked paprika when I'm feeling adventurous. The base is so solid that it can handle experimentation without falling apart.
- Try adding a crisp apple to the roasting tray if you want it slightly sweeter without it tasting like dessert.
- A grilled cheese sandwich on the side turns this into the most comforting meal you can imagine.
- Make a big batch and freeze it in portions so you have something warm and homemade waiting on tough days.
 Save
Save This soup has become my go-to when I need to feel grounded or when someone I care about needs comfort food. It's honest, simple, and genuinely good for you, which is the best combination I know.
Kitchen Guide
- → How do I cut butternut squash safely?
Use a sharp chef's knife and sturdy cutting board. Start by slicing off the stem and bottom ends for stability, then cut the squash in half lengthwise. Scoop out seeds with a spoon, then peel the skin with a vegetable peeler before cubing the flesh into 1-inch pieces.
- → Can I make this soup ahead of time?
Absolutely. This soup actually develops deeper flavor when made ahead. Store in an airtight container in the refrigerator for up to 5 days. Reheat gently over medium-low heat, adding a splash of broth or water if it has thickened too much.
- → What can I use instead of heavy cream?
Coconut cream adds rich, velvety texture and subtle tropical sweetness while keeping things dairy-free and vegan. For a lighter option, try full-fat coconut milk, Greek yogurt (stirred in after blending), or simply omit cream altogether—the roasted vegetables provide plenty of flavor and creaminess on their own.
- → Why roast the vegetables instead of boiling them?
Roasting concentrates natural sugars and creates caramelized edges that boiling cannot achieve. This deep, slightly sweet flavor foundation makes the final soup taste complex and satisfying without requiring additional ingredients or long simmering times.
- → What pairs well with this soup?
Crusty sourdough bread, garlic knots, or a simple green salad with vinaigrette balance the richness beautifully. For something more substantial, grilled cheese sandwiches with sharp cheddar or crusty panini make excellent partners. The soup also pairs wonderfully with quinoa salad or roasted chicken for a complete meal.
- → How do I adjust the consistency?
If the soup seems too thick after blending, simply add more warm broth, one quarter cup at a time, until you reach your desired consistency. For a thicker result, let it simmer uncovered for a few additional minutes after blending—some liquid will evaporate, intensifying the flavor.